GARAGE, CELLAR, CELL FLOOR
NEW FLOOR in 1 DAY?!
For most of us, laying the floor alone seems to be something unreal and it is natural that this work is outsourced to specialists. However, there are tinkerers among us, so we have prepared a brief guide on how to refresh your floor in one day!
We recommend that the floors that you take care of will be in places such as a garage, boiler room and cellar. First of all in such places it’s not necessary to use specialized equipment, as opposed to living rooms, where the floor must be perfectly placed and representative. Even if something goes wrong, the garage or the basement floor will not be a serious problem. You will however be able to be proud that you managed to lay the floor alone, and in such a short time. It is also a great way to renew your floor that ceased to be attractive at a very low cost. With a little effort you can create a new floor, which will be safe, hygienic and each visit in the room will be making you proud.
We offer you the position of epoxy flooring, because it has a lot of advantages:
1. Exceptional durability guarantees long life.
2. Easy to care for and keep clean (resistant to oils, grease, acids and solvents).
3. Hygienic, safe, jointless floor.
4. Suitable for rooms with large loads.
5. Two-component epoxy resin contains no solvents so it does not emit odors.
6. We can make a non-slip floor, which favors even greater security.
To independently perform such a floor, you need no special equipment or multiple products. Just a little bit of desire and enthusiasm for work: a broom, vacuum cleaner, plush roller, a steel trowel and a drill with a mixer. As you can see, the equipment available in any DIY store will allow you to refresh the selected room, and you will soon enjoy a new and bright floor, which you can easily perform by yourself.
Tips for application:
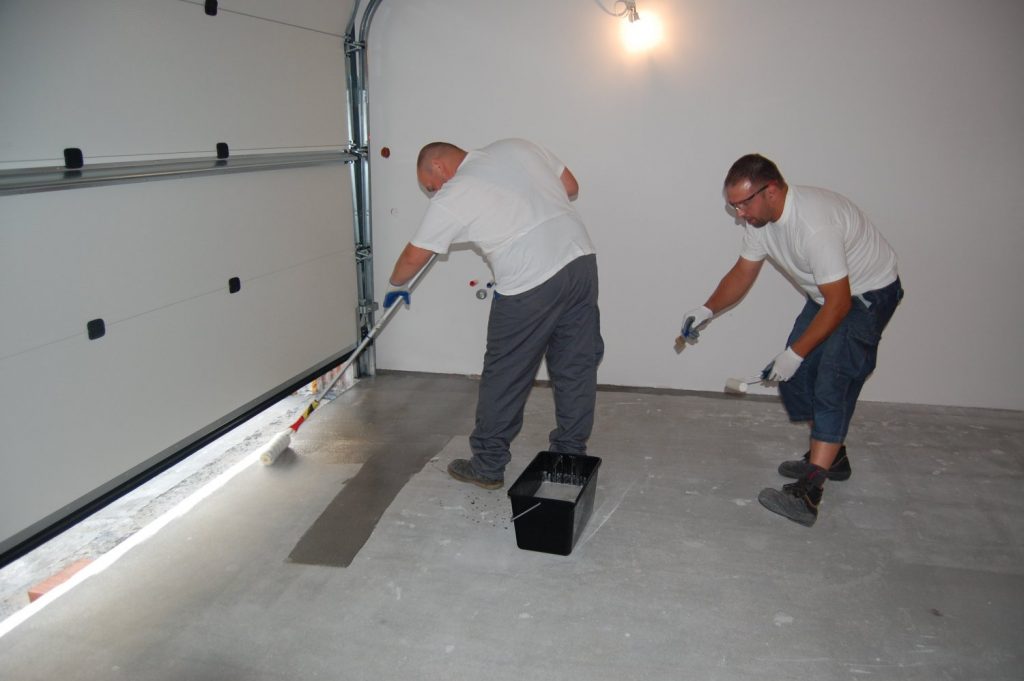
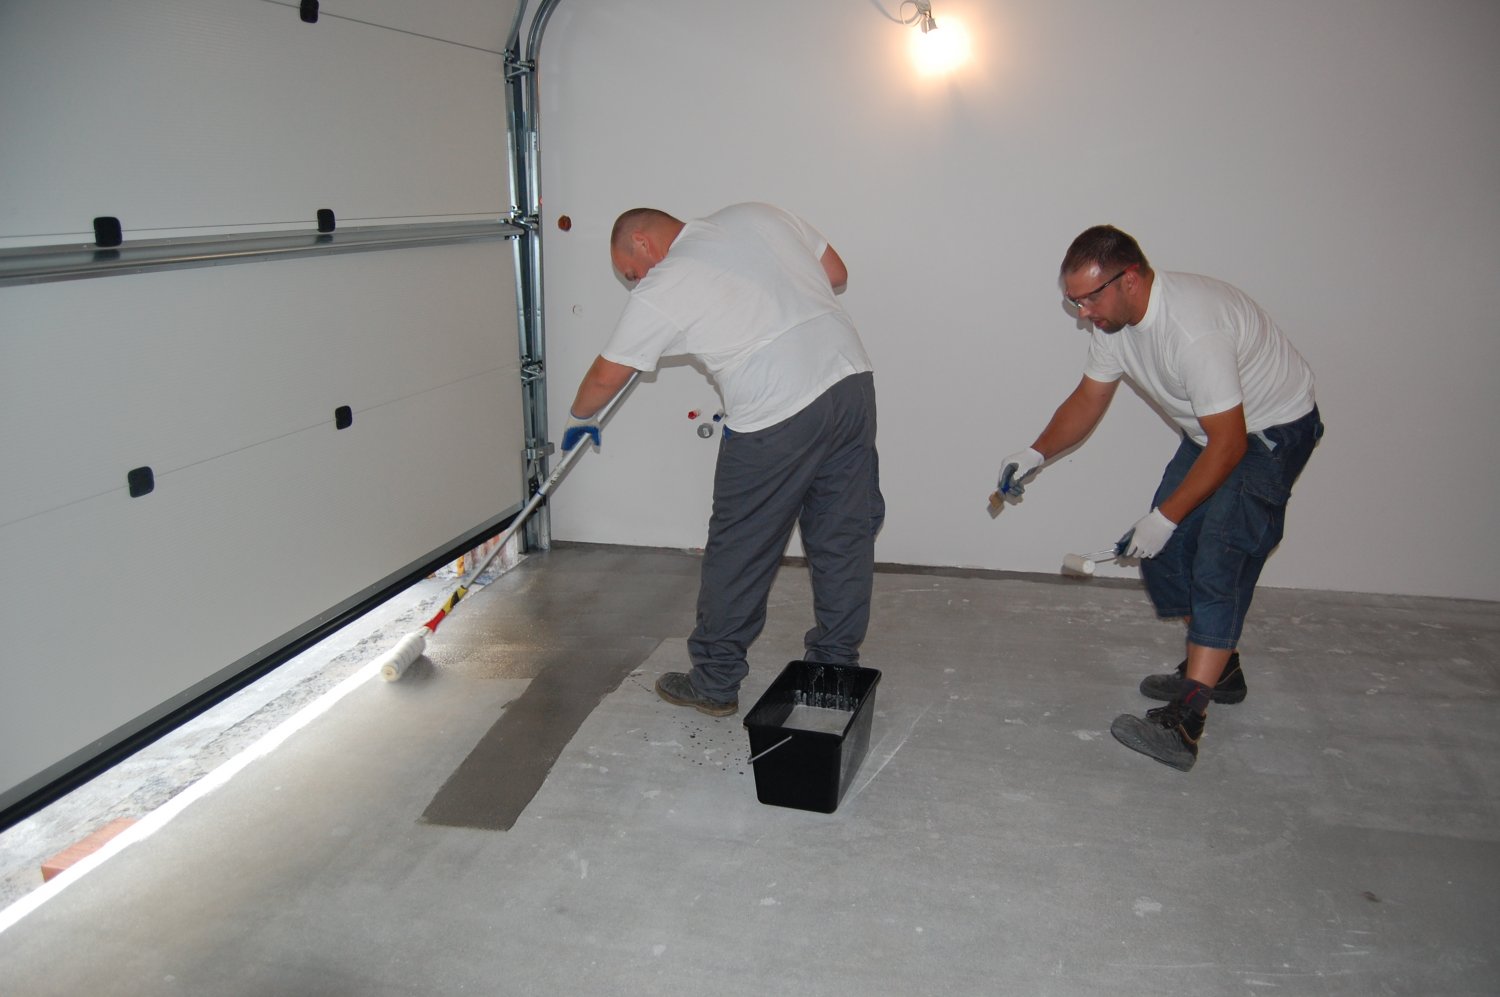
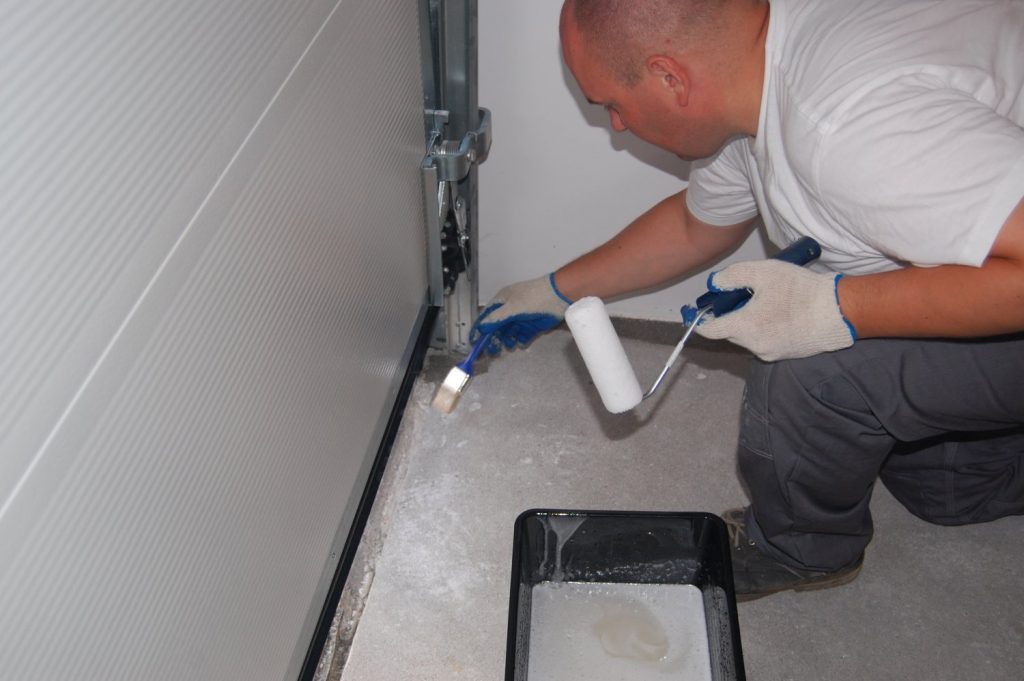
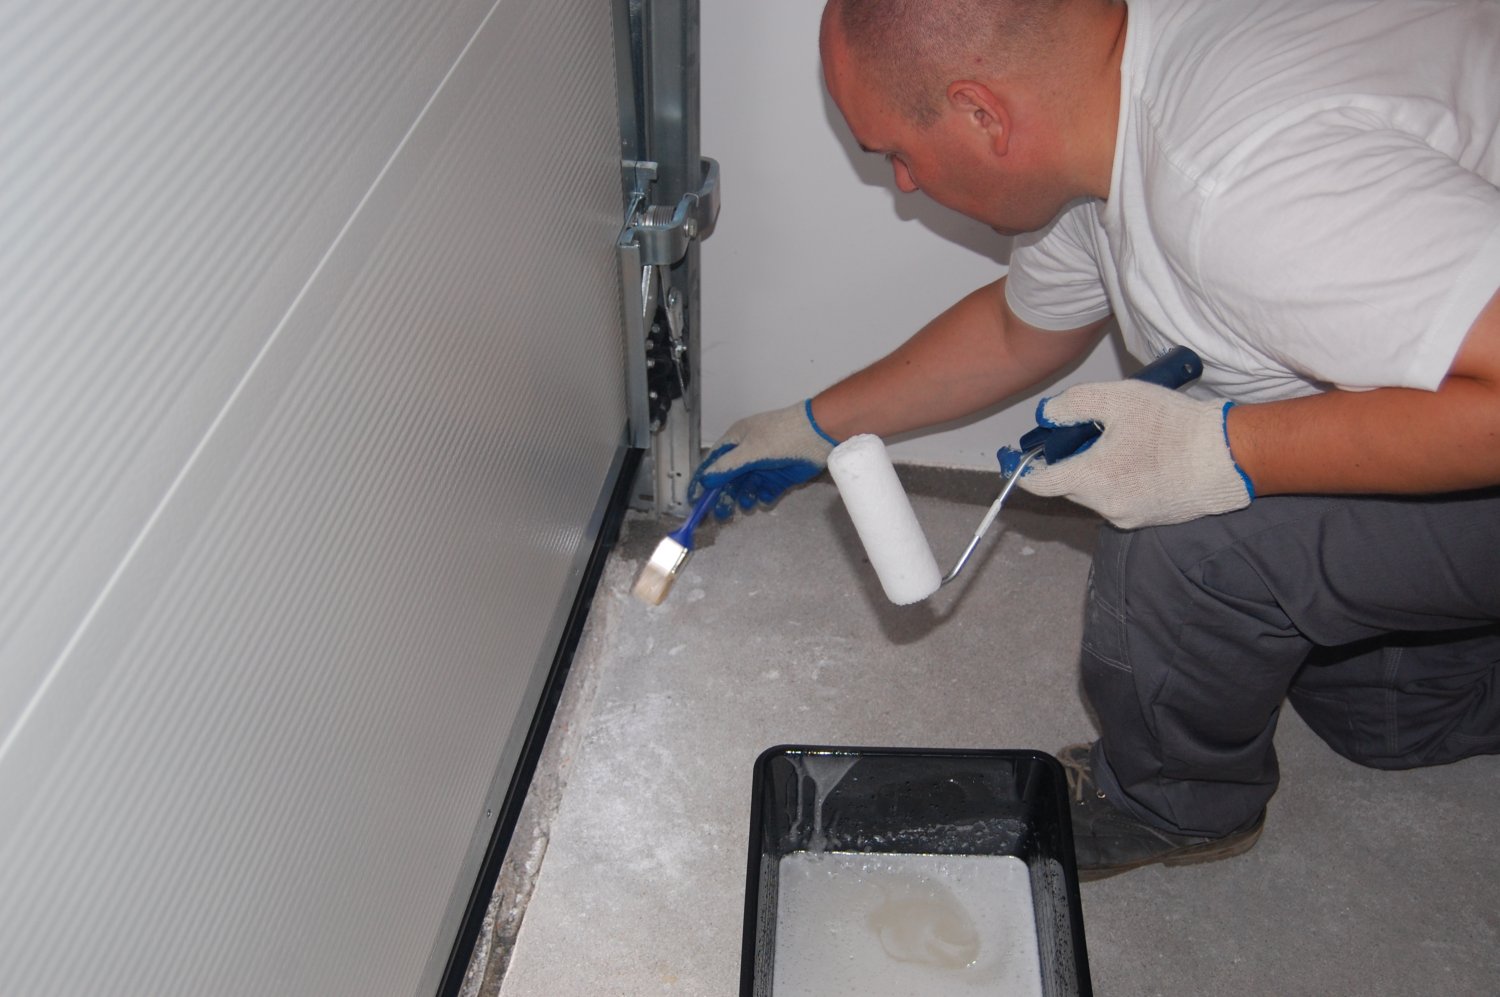
2.Na so prepared floor Apply epoxy primer reinforcing substrate - Photo 2 drawing attention to applied layer was homogeneous. In places hard to reach applications make using a brush - Photo 3.
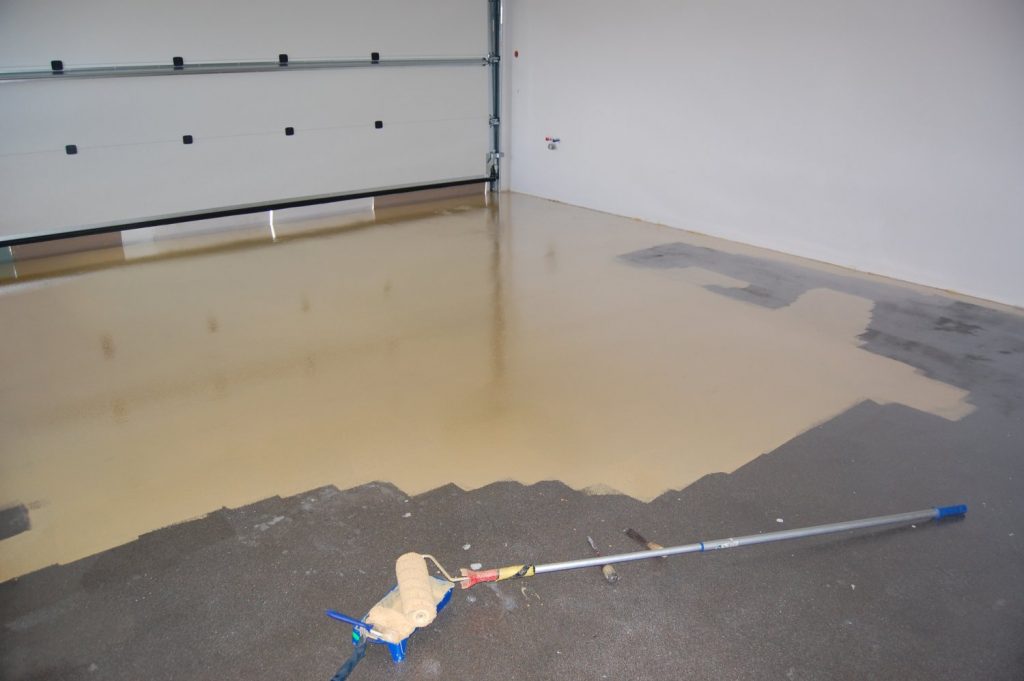
3. On primed and dried-colored floor we put weight resin - Photo 4
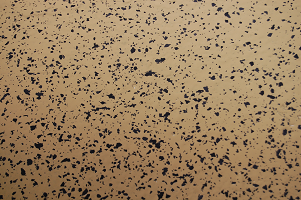
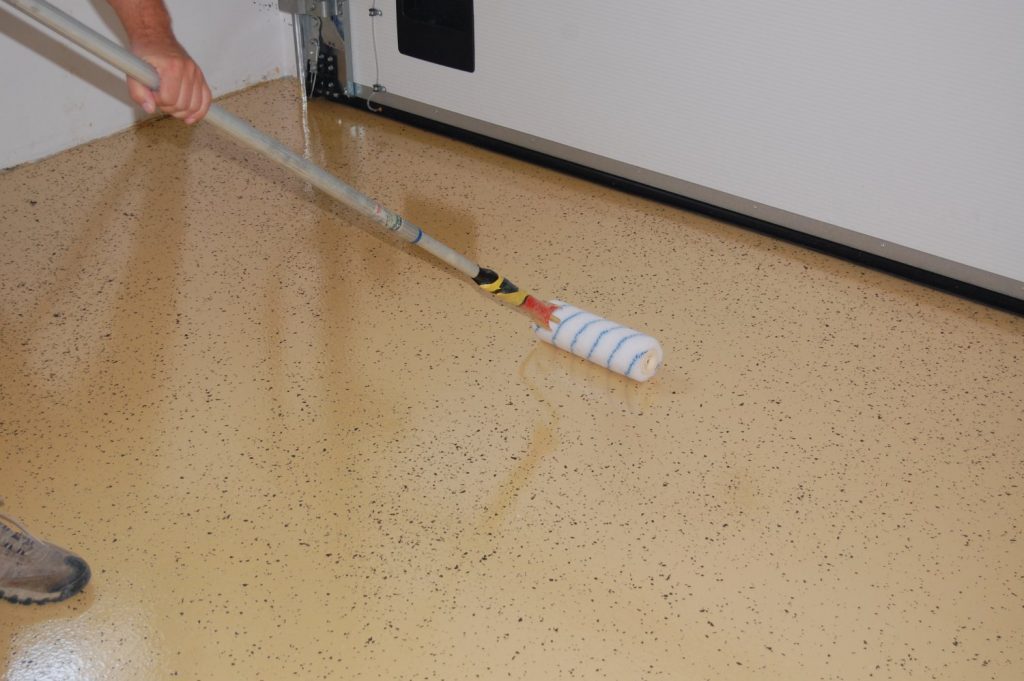
4. If the floor is to be enhanced with decorative flakes must be applied directly to wet resin - Photo 5 petals falling apart in small portions, tossing them up slightly - Photo 6 Once dry, remove resin excess flakes.
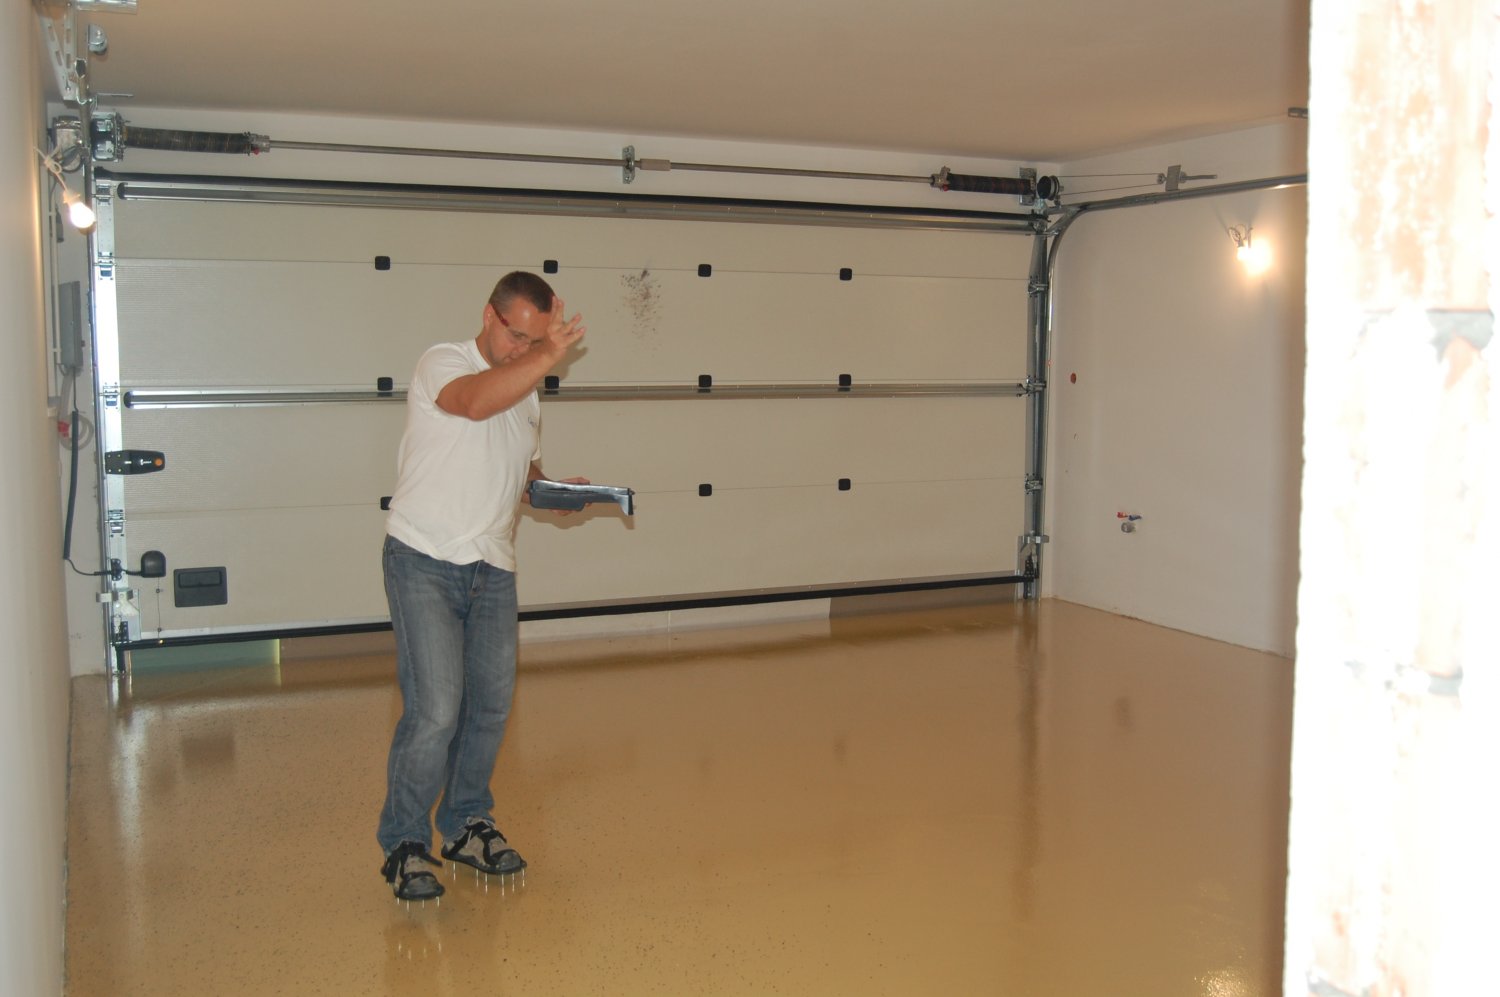
5. In this way the prepared floor requires protection varnish - Photo 7
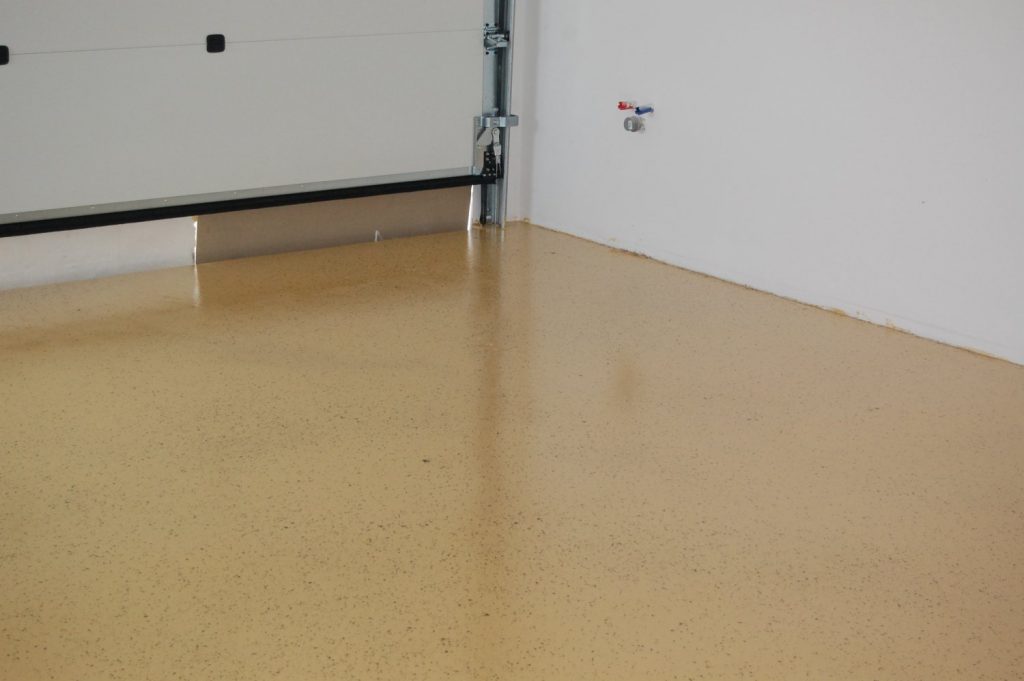
6. Ready floor - Photo 8
2. Apply the prepared floor epoxy primer reinforcing substrate - Photo 2 drawing attention to applied layer was homogeneous. In places hard to reach applications make using a brush - Photo 3
3. On primed and dried-colored floor we put weight resin - Photo 4
4. If the floor is to be in non-slip, should be fully overwhelm it with quartz sand directly on the wet resin - Photo 5.1 The sand falling apart large portions. After drying, the resin excess sand is removed.
5. In this way prepared floor requires imposing an additional resin layer - Photo 7.1
- Minimum temperature of the ground - plus 10 ° C
- Humidity - max 85%
- Minimum soil moisture - less than 3% per C.M. (Concrete floors), less than 0.5% C.M. (Floors anhydrite)
- Drying time is approx. 16 hours. It is recommended to carry out further construction works after 72 hours of drying
- Complete curing of the resin after 7 days after application
-

- Photo 1

-
- Photo 2
-
- Photo 3
-
- Photo 4

-
- Photo 5
-

- Photo 6
-
- Photo 7

-
- Photo 8


